Table of Contents
Introduction
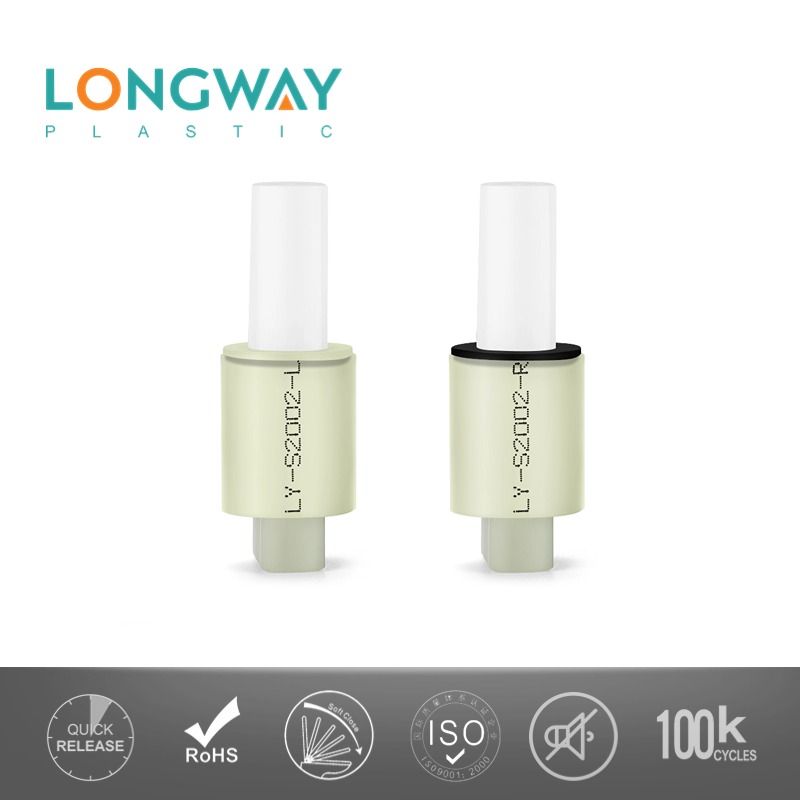
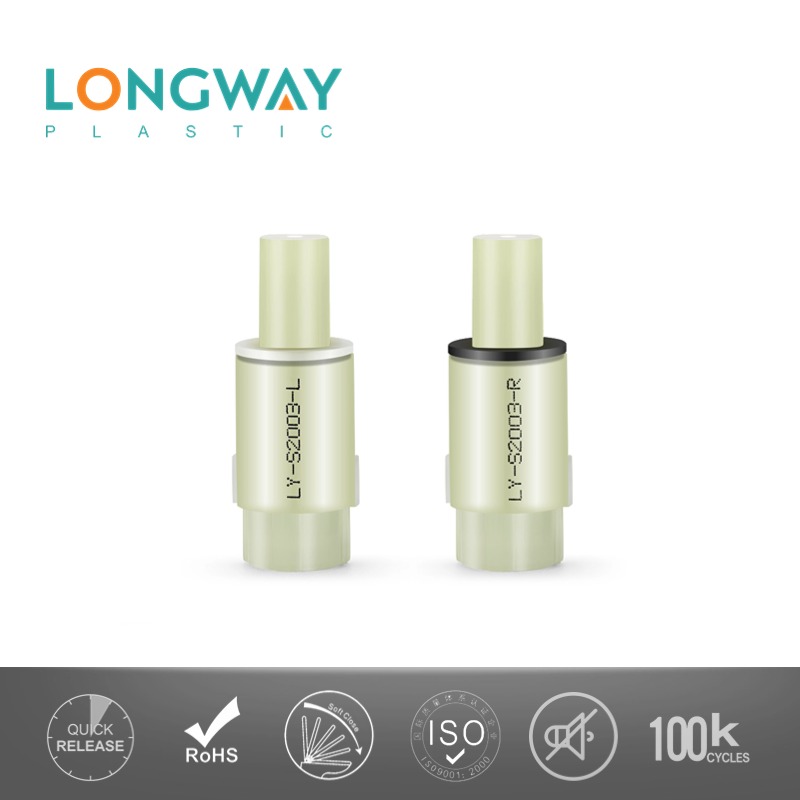
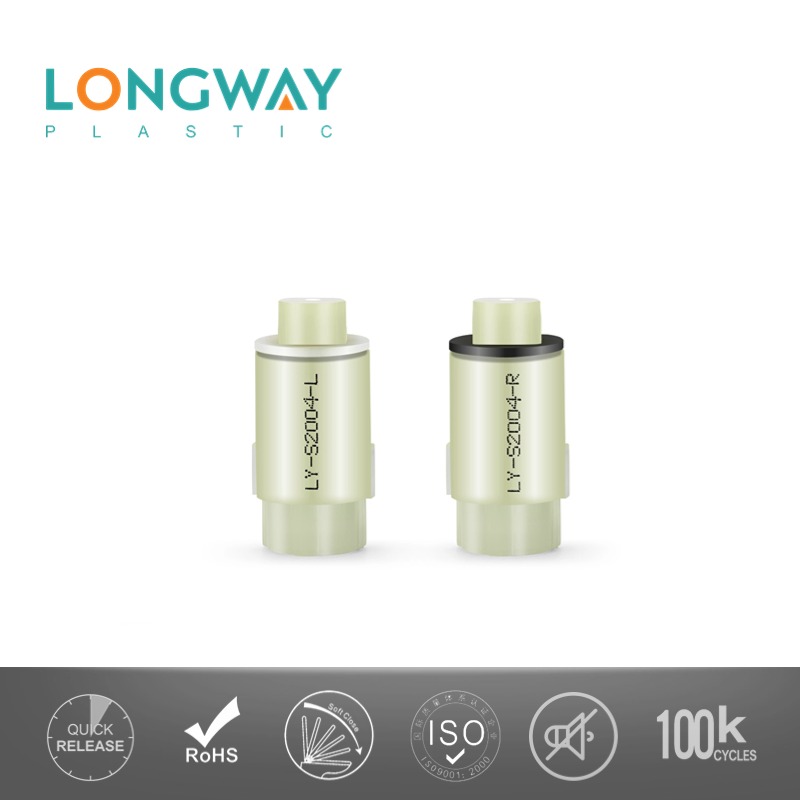
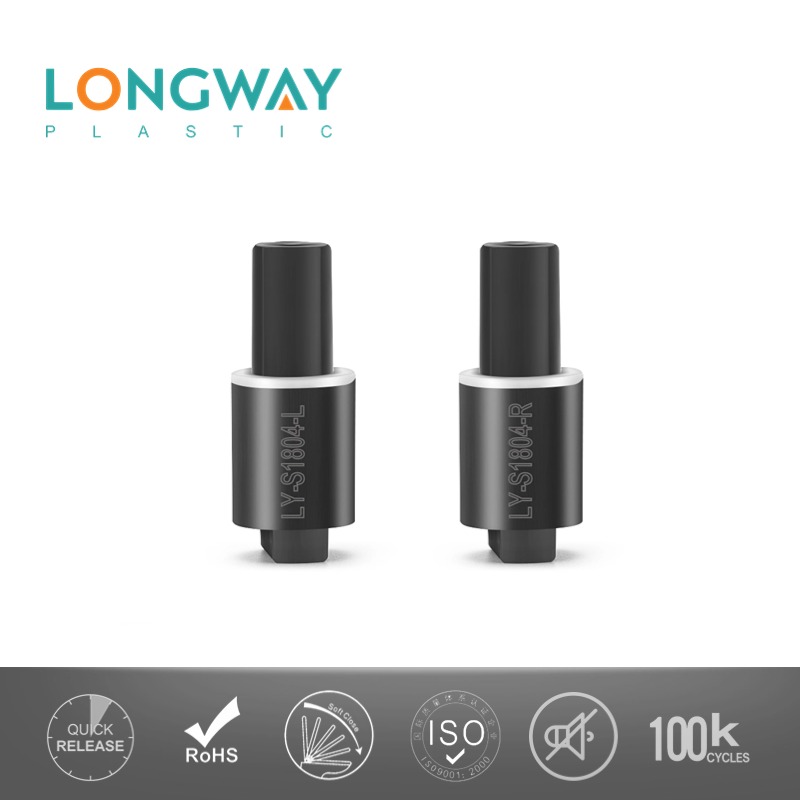
Toilet seat hinge replacement is a manageable home improvement task that can restore comfort, hygiene, and quiet functionality to your bathroom. Whether your current hinges are worn out, squeaky, or no longer holding the seat in place, replacing them with precision-engineered hinges and rotary dampers from Longway can make a world of difference.
Tools and Materials Required
Before you begin, gather the following tools and materials to ensure a smooth installation process:
- Flathead screwdriver or Phillips screwdriver (depending on hinge type)
- Adjustable wrench or pliers
- Replacement toilet seat hinges (preferably soft-close with rotary dampers)
- Cleaning cloth and disinfectant
- Optional: Power drill with bit (for quick removal)
Step-by-Step Removal of Old Hinges
Follow these steps to safely and efficiently remove the existing toilet seat hinges:
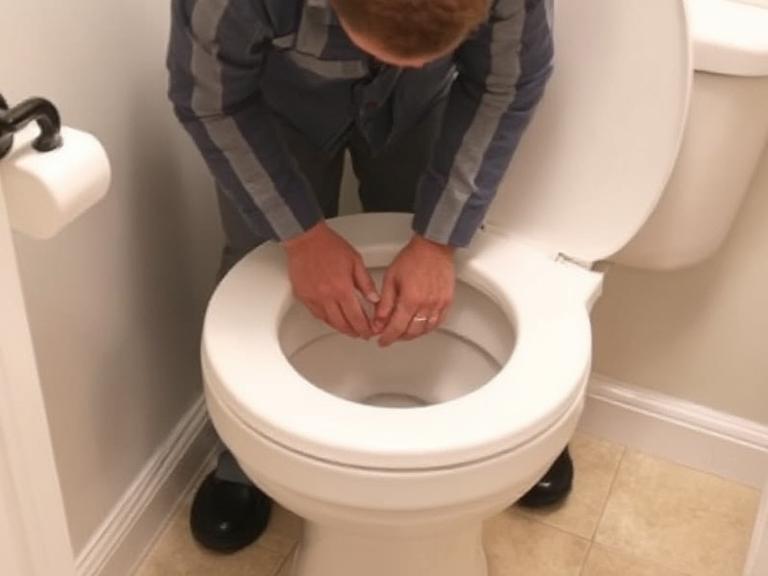
1. Locate and Access Hinge Screws
- Lift the seat and lid to expose the hinge caps at the back.
- Pop open the hinge covers with a flathead screwdriver to access the screws.
2. Unscrew the Hinges
- Use the appropriate screwdriver to unscrew the mounting bolts underneath the toilet bowl.
- If bolts are rusted or stuck, apply a rust remover and let sit before retrying.
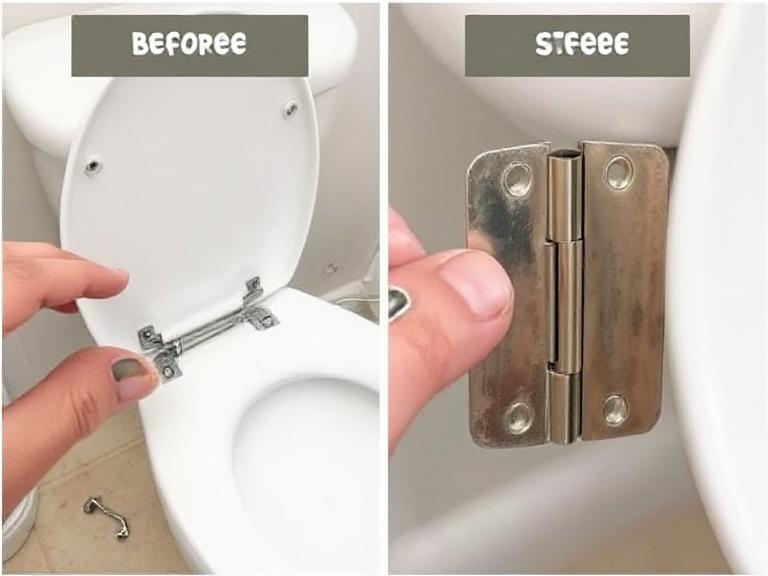
3. Remove the Old Hinges
- Once unscrewed, pull the toilet seat and hinge assembly off the bowl.
- Clean the mounting area with a disinfectant cloth to remove debris and buildup.
Installing New Hinges Correctly
High-quality replacement hinges, such as those from Longway, often come with built-in rotary dampers for soft-close functionality. Installation is simple:
1. Align the New Hinges
- Place the new hinge brackets over the existing holes on the toilet bowl.
- Ensure the hinges are symmetrical and centered before securing.
2. Secure with Screws
- Insert the new screws through the hinge holes into the mounting holes on the bowl.
- Hold the bolt with a wrench from underneath while tightening from the top.
3. Attach the Seat
- Snap or screw the toilet seat onto the installed hinges, depending on the model.
- Check that the seat is secure and level.
Testing and Adjusting for Soft-Close Performance
Test the soft-close functionality:
- Gently tap the lid and seat to see if they close slowly and silently.
- If closing too fast or slow, some rotary dampers allow for torque adjustment.
- Consult the product manual for fine-tuning instructions if available.
Why Choose Longway’s Hinges and Dampers
With over 15 years of manufacturing excellence, Longway delivers industry-leading solutions in toilet seat hinges and damping technology.
Our Damping Technology Advantages
Why Professionals Trust Longway
- Consistent product quality and dimensional precision
- Customization support for OEM & ODM applications
- Stringent quality control and long-term performance validation
Common Mistakes and Troubleshooting Tips
1. Hinge Misalignment
- Ensure hinges are aligned before tightening screws.
- Use a level or visual guide to confirm seat symmetry.
2. Loose Hinges Post-Installation
- Recheck bolt tightness using a wrench under the bowl.
- Consider adding a rubber washer for improved stability.
3. Poor Soft-Close Performance
- Ensure rotary dampers are functioning and not obstructed.
- Replace any faulty dampers with genuine Longway replacements.
Maintaining Your Toilet Seat Hinges
Keep your new hinges functioning optimally with routine maintenance:
- Clean hinge areas regularly with a mild disinfectant.
- Check and tighten bolts every 3–6 months to prevent loosening.
- Avoid using harsh chemical cleaners that can damage damper seals or plastic parts.
Summary Table: Key Takeaways
| Aspect |
Details |
| Task |
Toilet seat hinge replacement |
| Tools Required |
Screwdriver, wrench, replacement hinges, cleaning supplies |
| Steps Involved |
Remove old hinges → Clean → Install new hinges → Test and adjust |
| Best Components |
Longway rotary dampers and precision-engineered metal hinges |
| Common Errors |
Misalignment, loose bolts, or non-functioning dampers |
| Maintenance Tips |
Regular cleaning and bolt tightening, avoid harsh chemicals |
| Longway Advantage |
15+ years in soft-close dampers, custom injection molding, and hinge design |


 Network Supported